Easy DIY Mermaid Sensory Bin
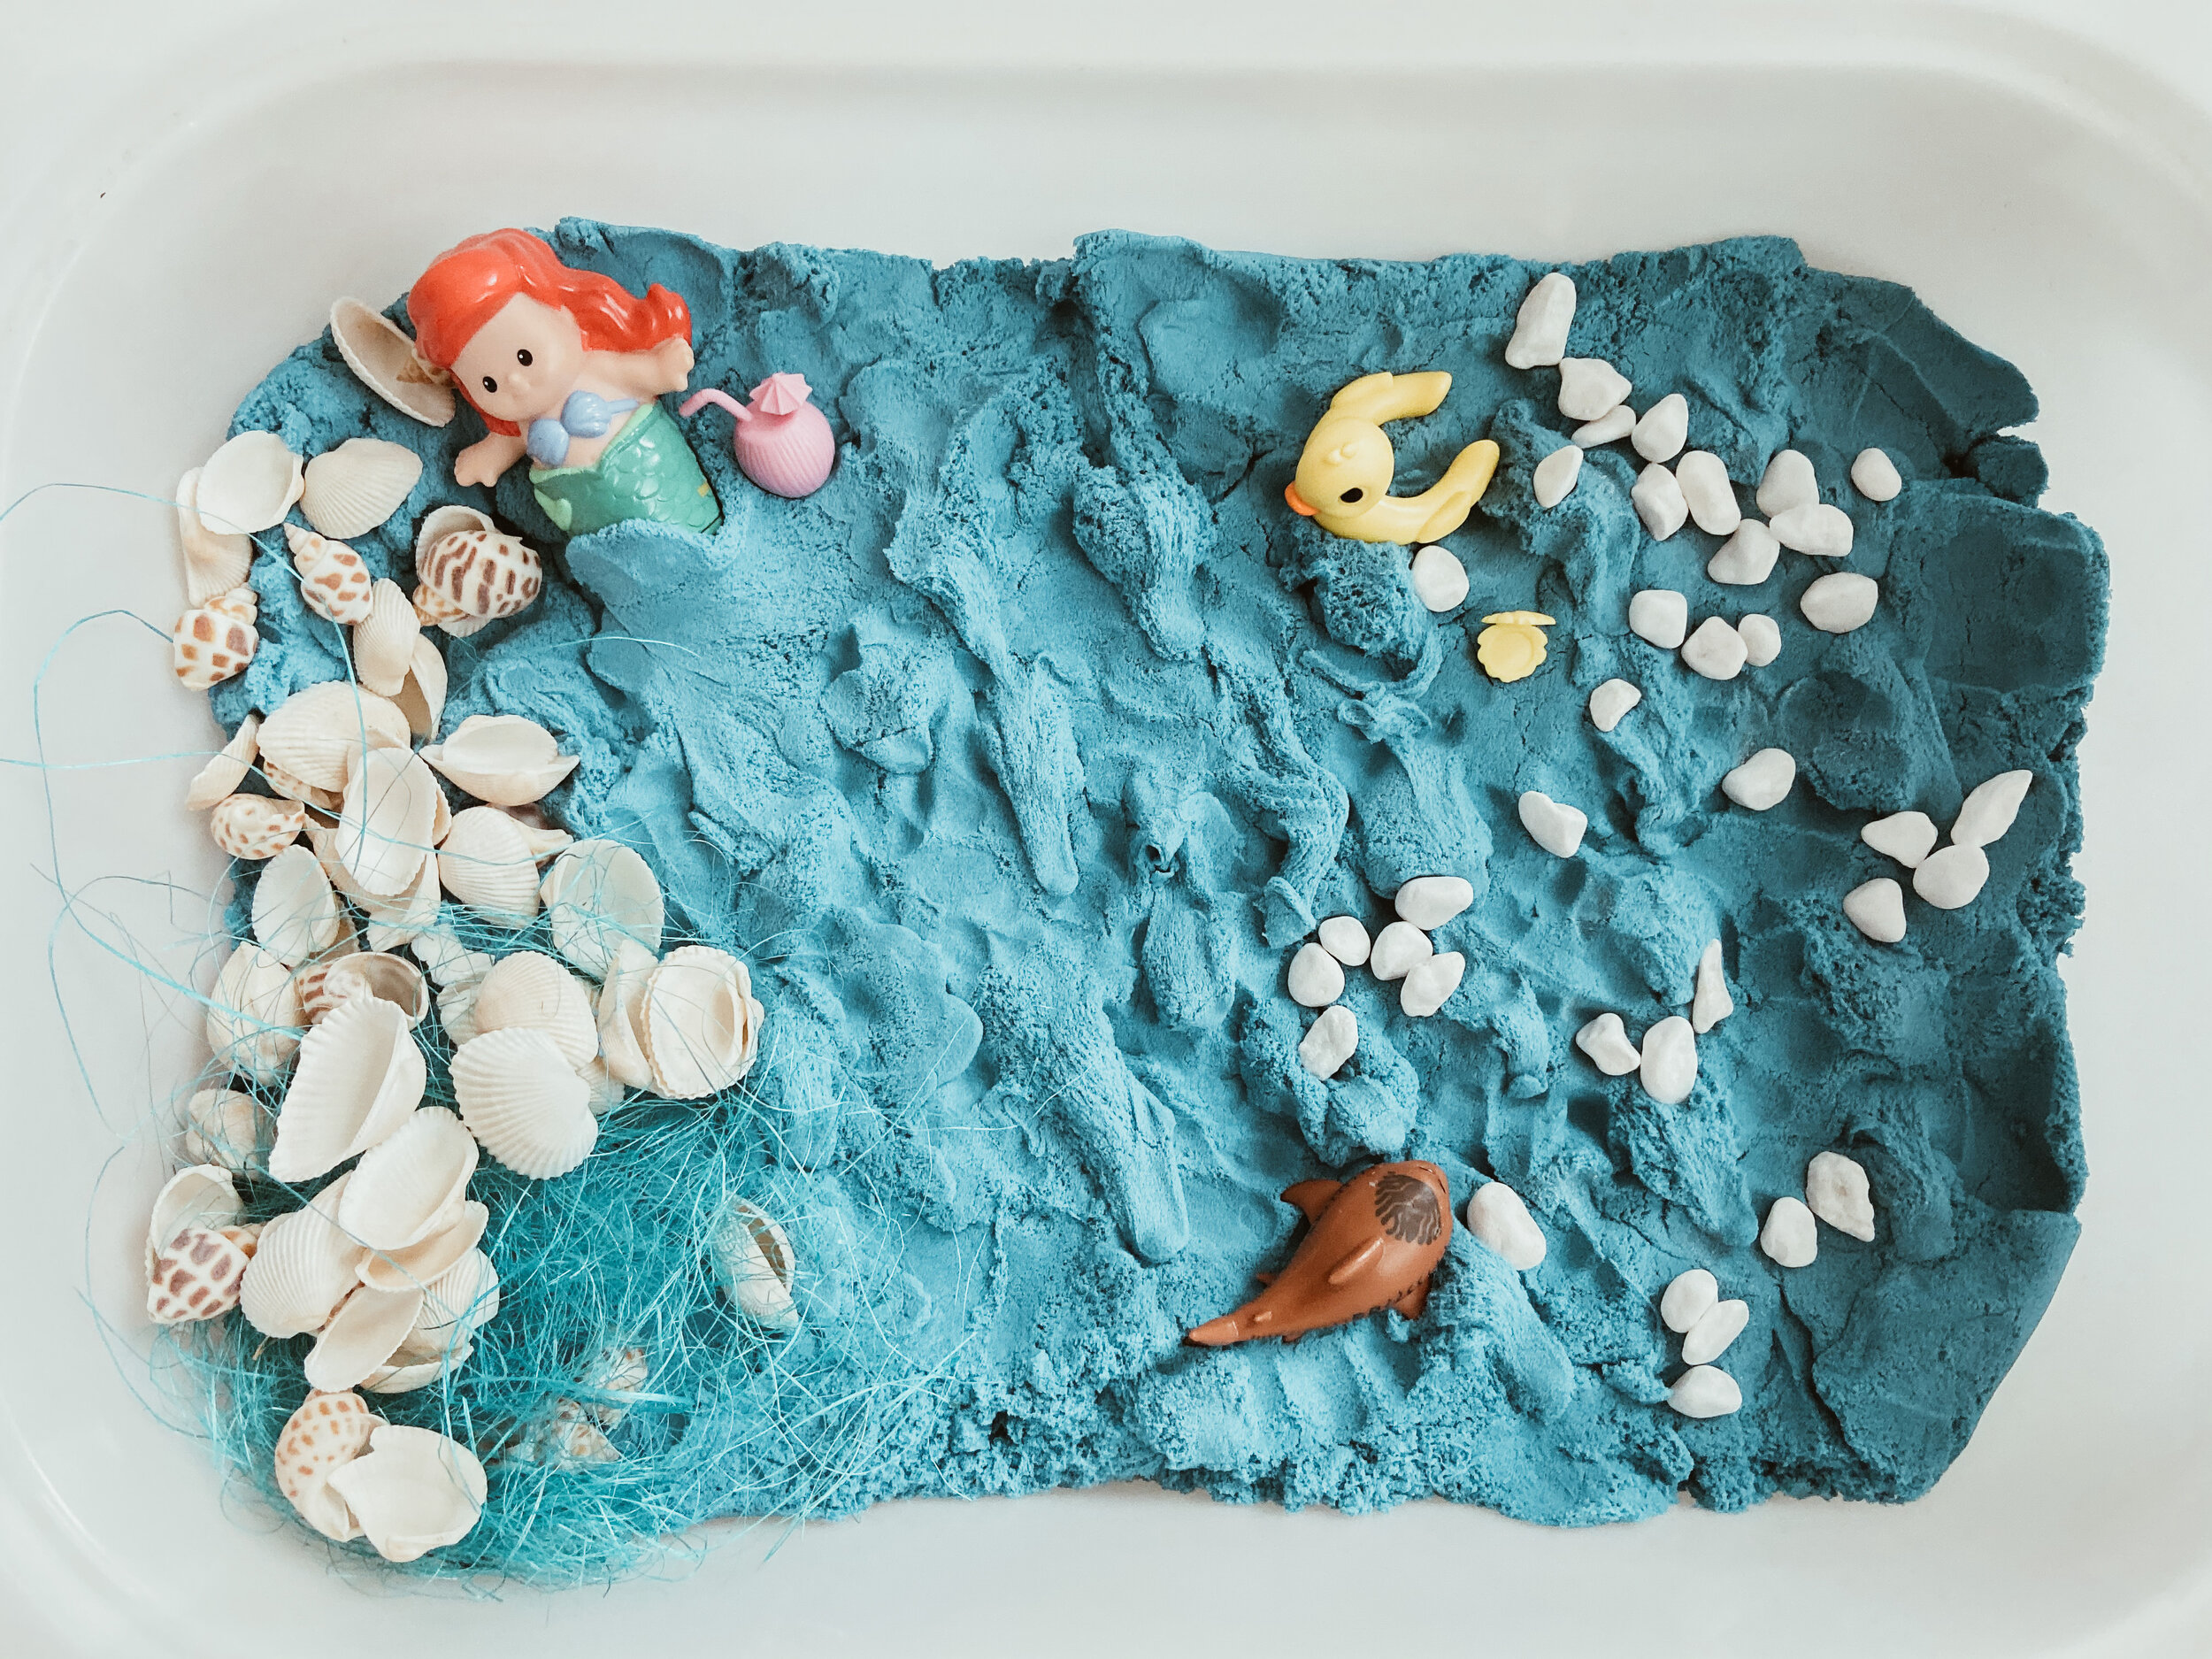
Easy tutorial showing you how to make an under the sea, mermaid sensory bin for your children. This sensory table takes minutes to set up and will have your children engaged in small-world pretend play for hours.
Sensory bins are good for toddlers and Kindergarteners
Sensory play is a must in our house and in my classroom!
It calms children down and allows them to focus.
Sensory play gives children a chance to get messy (which is always fun!).
It provides kids with an opportunity to use all 5 of their senses at the same time.
Sensory tables are a freeing opportunity for children to explore as they see fit without the restraints of keeping their hands clean. It’s a time to touch and experience new materials that are often off-limits for little ones.
How to make an easy DIy Mermaid sensory bin
My 2 children at home are huge fans of mermaids (and unicorns, of course). You can check out my Easy DIY Unicorn sensory bin and unicorn toilet paper roll craft too. They have mermaid blankets, mermaid toys, Ariel dolls and pretend to be mermaids as soon as they get into the bath or go swimming. I was the same way as a kid so I guess the apple doesn’t fall far from the tree lol… Actually I still kind of want to be a mermaid.
Because of our love of all things mermaid I knew I had to create an under the sea sensory bin for my littles at home.
First there was a slight mishap, though. I don’t know what I was thinking but when I was at the dollar store picking up some little shells and cute rocks I saw some containers of beautiful turquoise sand on the shelf. I knew it would look amazing in our sensory bin so I bought 3 of them and took them home. I was super pumped.
Then a couple of days later I realized that the dollar store sand is probably not safe for kids! I opened it up could smell the toxic fumes immediately. Gross. So then I was on the hunt for some Kinetic sand. I went to Michaels and they didn’t have any blue sand in stock and that was a bummer until I hit the jackpot.
I found this new (to me) material called SlimyGloop Slimy Sand. Sounds weird right? It’s stretchier than Kinetic sand yet it’s also sandy so I’d say it lives up to its name. When you mold the slimy sand it stays in its shape for longer than Kinetic sand does. It’s also a messier material and the sliminess leaves your hands a bit sticky after touching it but the kids don’t mind.
I was so glad I bought some because my daughter LOVED shaping the sand into ocean waves.
Setting up an easy mermaid sensory bin
The first thing I did was dump the Slimy Sand into the bin. Then we added some sea shells, white rocks and some blue stringy stuff from the craft section at Dollarama that I thought looked like seaweed (insider tip: I later took the “seaweed” out because the Slimy Sand was clinging to it too much).
I raided my kids’ toys and found an Ariel doll and some under the sea themed mini toys.
That’s it! The mermaid sensory bin was easy to set-up and only took a couple of minutes. Every time the set-up is quick but the kids play with it for a long time that’s a #momwin for sure.
If you prefer outdoor activities my kids also loved this leaf-printing butterfly craft.
Materials:
SlimyGloop Slimy Sand (Kinetic sand would work too)
Sea shells
Rocks
Mermaid toys (could also use fish toys to make it “under the sea” theme)
Method:
1. Purchase some Slimy Sand and pour it into your sensory bin. Spread it out into a layer that covers the bottom of the bin.
2. Add shells and rocks. Choose some under the sea or mermaid toys to add to your new sensory bin.
Voilà!
Go play and get messy! If you’re a teacher be sure to add this activity into your Trello for Teachers board so you can remember all the juicy deets.
If you make this sensory bin don’t forget to take a pic and tag me on IG @ouimadamewee
I hope you have as much fun as my daughters did!
- Breyen
Follow me on Instagram @ouimadamewee


